Show full content
With the roof and mollicroft completed, and no more up-and-downing the step ladder, I felt it safe to put the rear wheels on. This revealed the true size of the cavernous area delineated by the rear underbody, rear axle and rear wheels into which I wanted to suspend the pan box. Pan boxes were traditionally employed to house the greasy pans and other grimy cooking paraphernalia essential to everyday life on the road.
I have more modern and compact cooking arrangements. I do, however, still have a penchant for bacon, sausages, steak and the odd cold cider of an evening, so my ‘pan’ box will accommodate a 95-litre fridge/freezer (figures 1, 2 & 3) to sustain me whilst out and about.

Fig. 1. “It fits; I’ll take it!”
The pan box is suspended beneath the floor by four lengths of all-thread (figure 2).

Fig. 2. A length of 3/8” all-thread in each corner supports the pan box.

Fig. 3. “A man’s not a camel”.
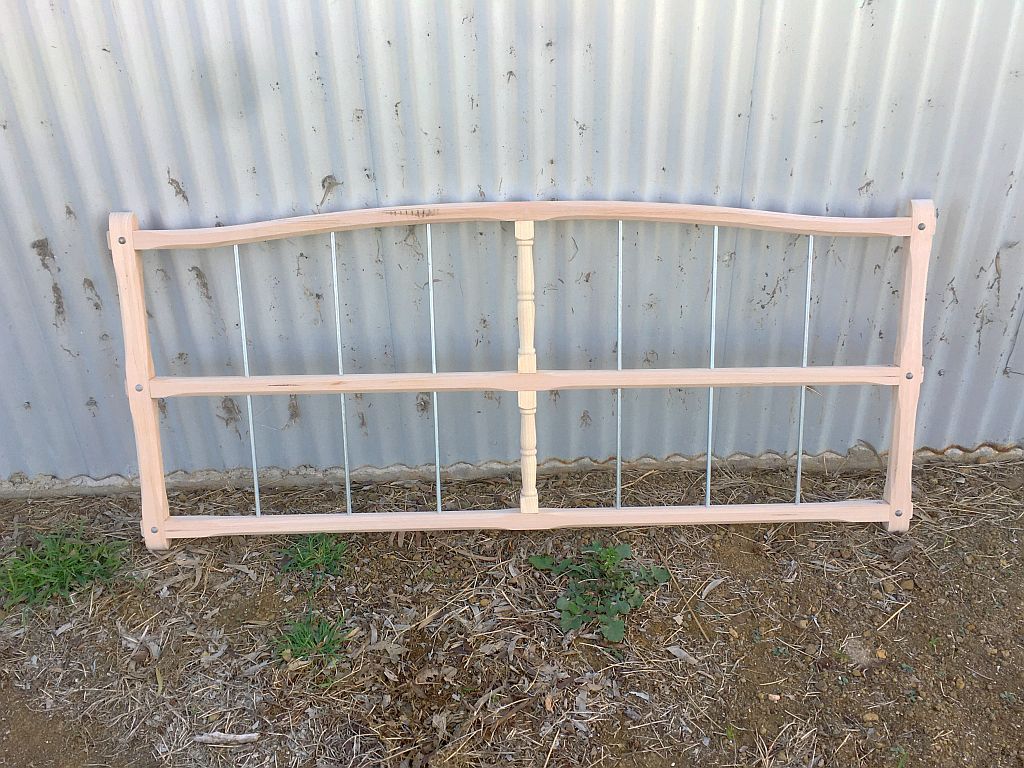
Next job was the shutters, which were quite straightforward; just the louvres required a fair amount of time to shape and fit (figure 4).

Fig. 4. A handful of the pine louvres.
The shutters slide, top and bottom, in the channels behind the top wriggle (weather) boards and the mid wriggle boards (figure 5).

Fig. 5. Finished louvered shutters.
The shutters are prevented from sliding open too far by wooden stops (figure 6), and conversely, are held in the closed position, whilst travelling, by short (yet-to-be-decorated) sticks placed in the channels between the shutters and the shutter stops.

Fig. 6. Red shutter stop.
The steps, of course, needed sanding – not, as you might imagine, with a cork block and some 120-grit paper, but with three more coats of buttermilk paint and a bucket of sand from Ninety Mile Beach.
I lit a good fire in the shop’s wood stove, filled a baking tray with sand and placed it over the heat. Whilst the sand was drying, I masked each tread – and the vardo’s footboard. Beginning with the bottom tread, I applied a goodly coat of paint to the masked area and drizzled the dry sand over the paint, pressing it down. I repeated the process up the steps and sanded the footboard too. Once the paint had dried, I brushed off the surplus sand and each step was treated to two additional coats of paint to seal the sand in (figures 7, 8 & 9).

Fig. 7. “Sanded” steps…

Fig. 8. … and footboard.

Fig. 9. Non-slip entrance.

Fig. 10. Steps stowed for travel.
I recently had an overflow of visitors staying with me for a night, so I gladly offered up my own bed to some of the guests. I’m not normally that generous, but it presented the opportunity to try out the new mattress in the vardo. I didn’t think to apply the brakes (with the vardo standing on the smooth shed floor), so there was a rather uneasy swaying motion every time I rolled over during the night. Other than that, I was very comfortable.
To provide accommodation for any accompanying guests whilst I’m on the road, or when pulled up for the day, I have equipped the vardo with a 3.7m x 3m (12’ 1-5/8” x 9’ 10”) canvas awning which can be configured in two ways: As a straightforward awning (figure 11), or with half the roof area and a vertical “wall” to create a virtual room for campers.

Fig. 11. A useful sitoutery.
When not in use, the canvas can be stowed beneath my bed and the extendable aluminium poles are secured in the tall cupboard with lengths of Velcro tape, screwed to the cupboard’s interior. (figure 12).

Fig. 12. Awning poles secured for travel.
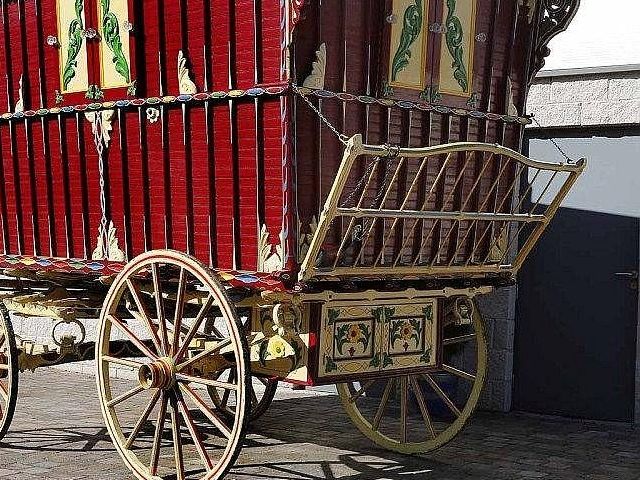
The removable cratch is hooked into eyes at the bottom rear of the body and supported by chains, clips and eyes at the top. The chains are doubled up for travel to prevent them slapping around, unduly damaging the paintwork (figure 13) and are adjustable anywhere between that, and the cratch laying horizontally (figure 14).

Fig.13. Cratch chained up for travelling…

Fig.14. … and lowered.
There is also a canvas cover for the cratch to protect luggage such as harness and hay etc. from the elements (figure 15).

Fig. 15. Protective tarp over the cratch.
Inside, the seats and cushions are all finished (figure 16), as are the under-bed drawers (behind the bed-cupboard doors). The battery and battery-controller (for the flexible solar panels on the roof) reside in the shorter under-seat storage.

Fig. 16. Completed seating.

Fig. 17. First time out in the winter sun.

Fig. 18. Time to go back in the shed – for now.
My total hours involved to-date come to 2,237.25.

Orson


