They're bike trails, clearly used and maintained, but I can't tell by who. They're on what I think is city propery, alongside a public waterway, but they have no signage anywhere and are not listed as part of any park. They have no labeled entrances, just kind of veering off from the sidewalk into the woods, and definitely no parking to speak of. But someone is building very well made bike bridges over every small creek that flows into the river. How mysterious...
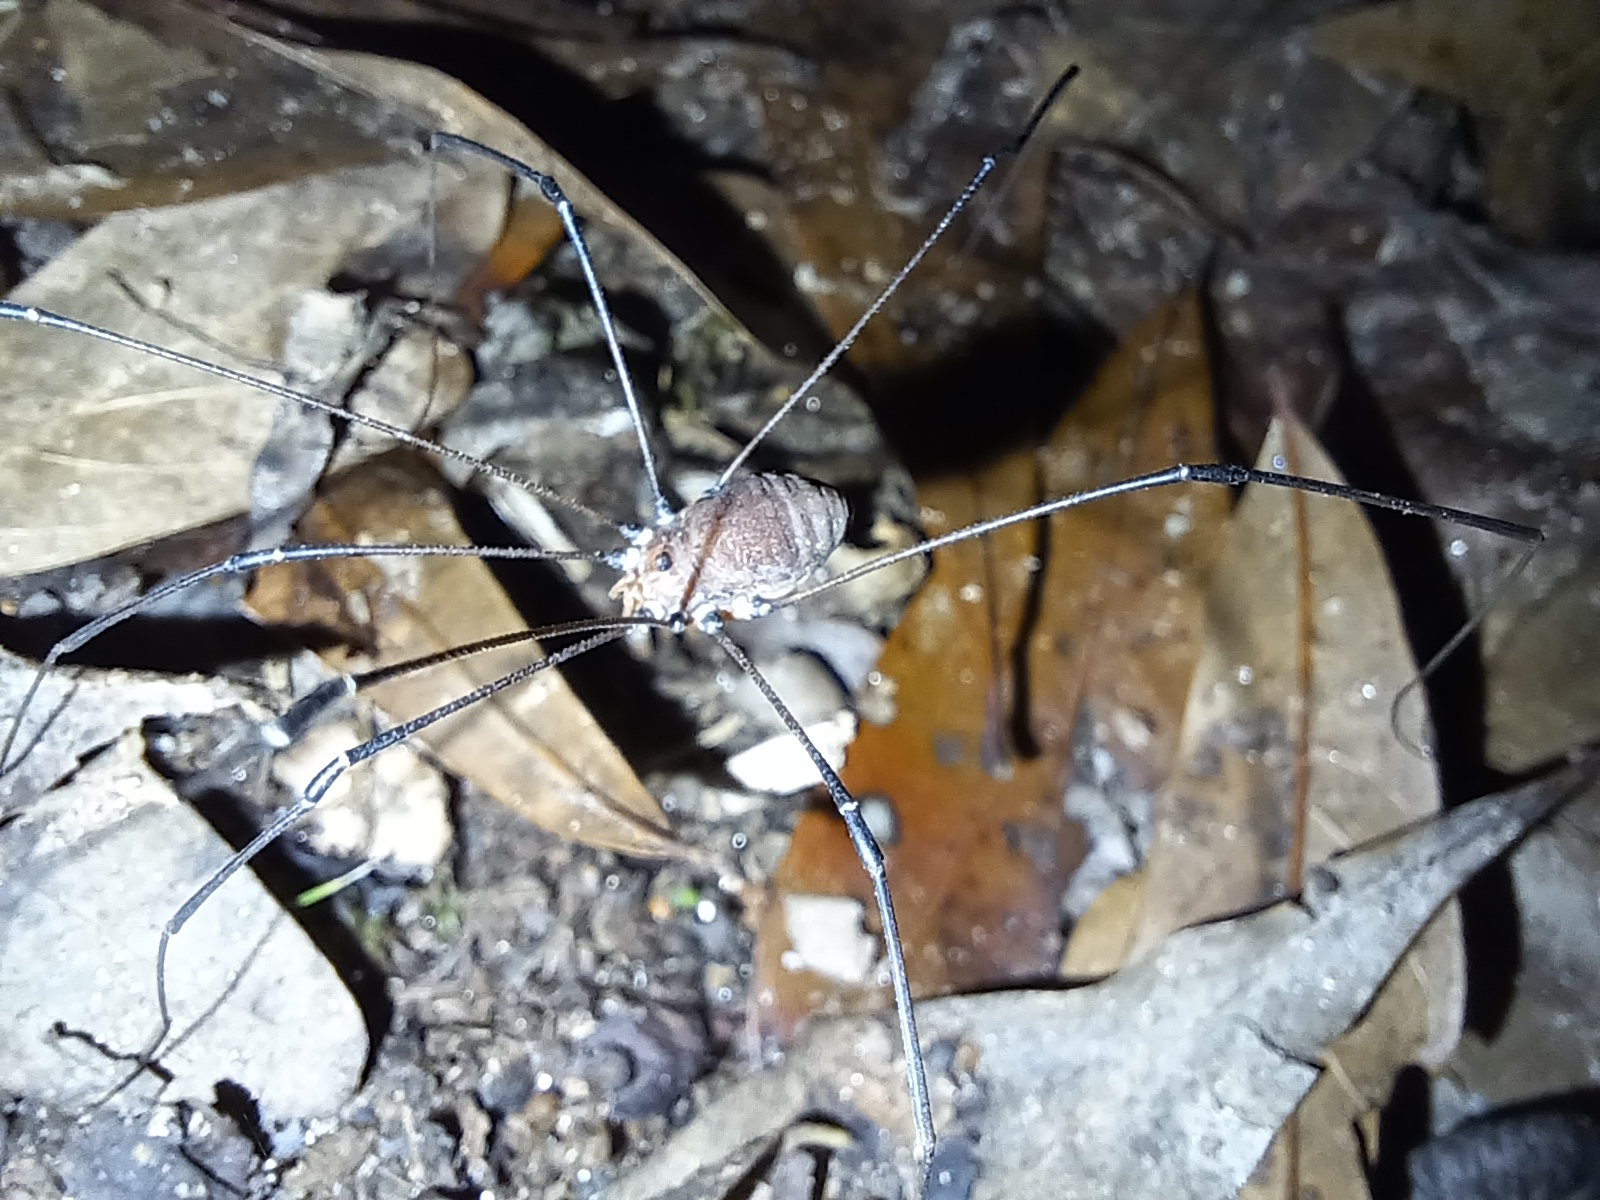
 danger sign
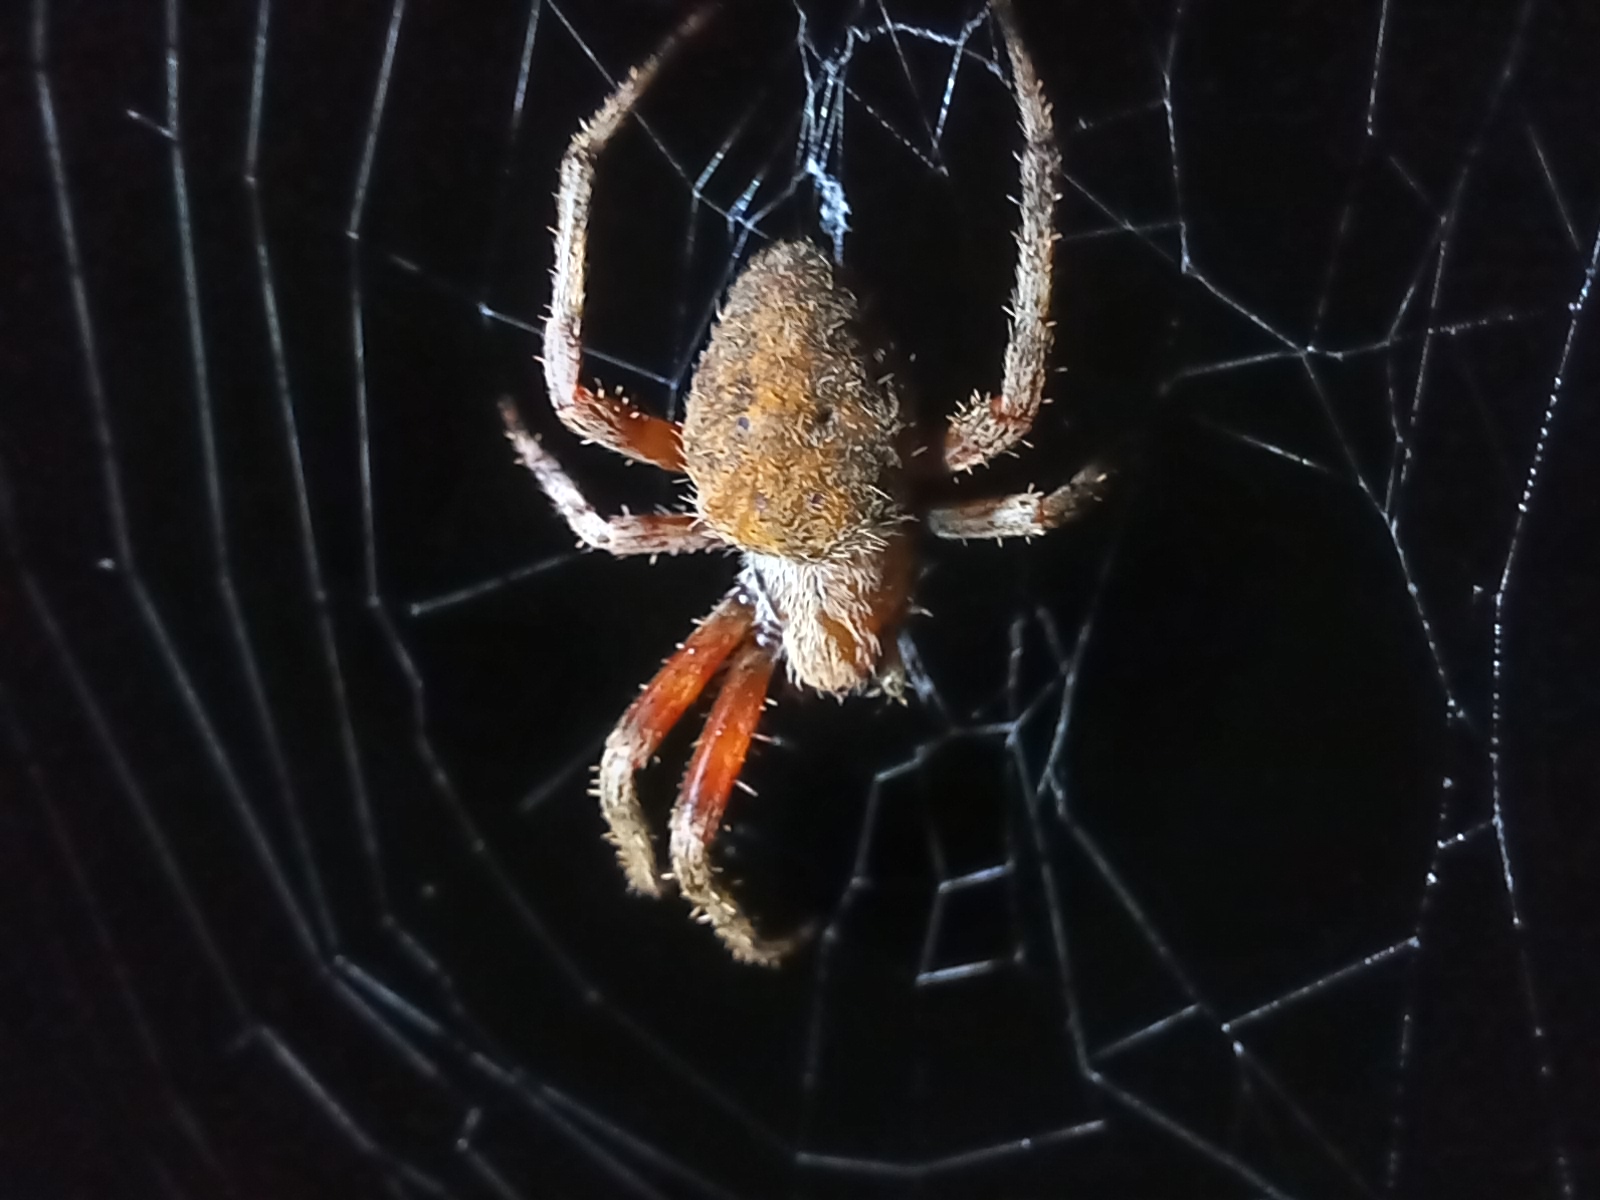
 small guy
 Celastrina sp. mating.


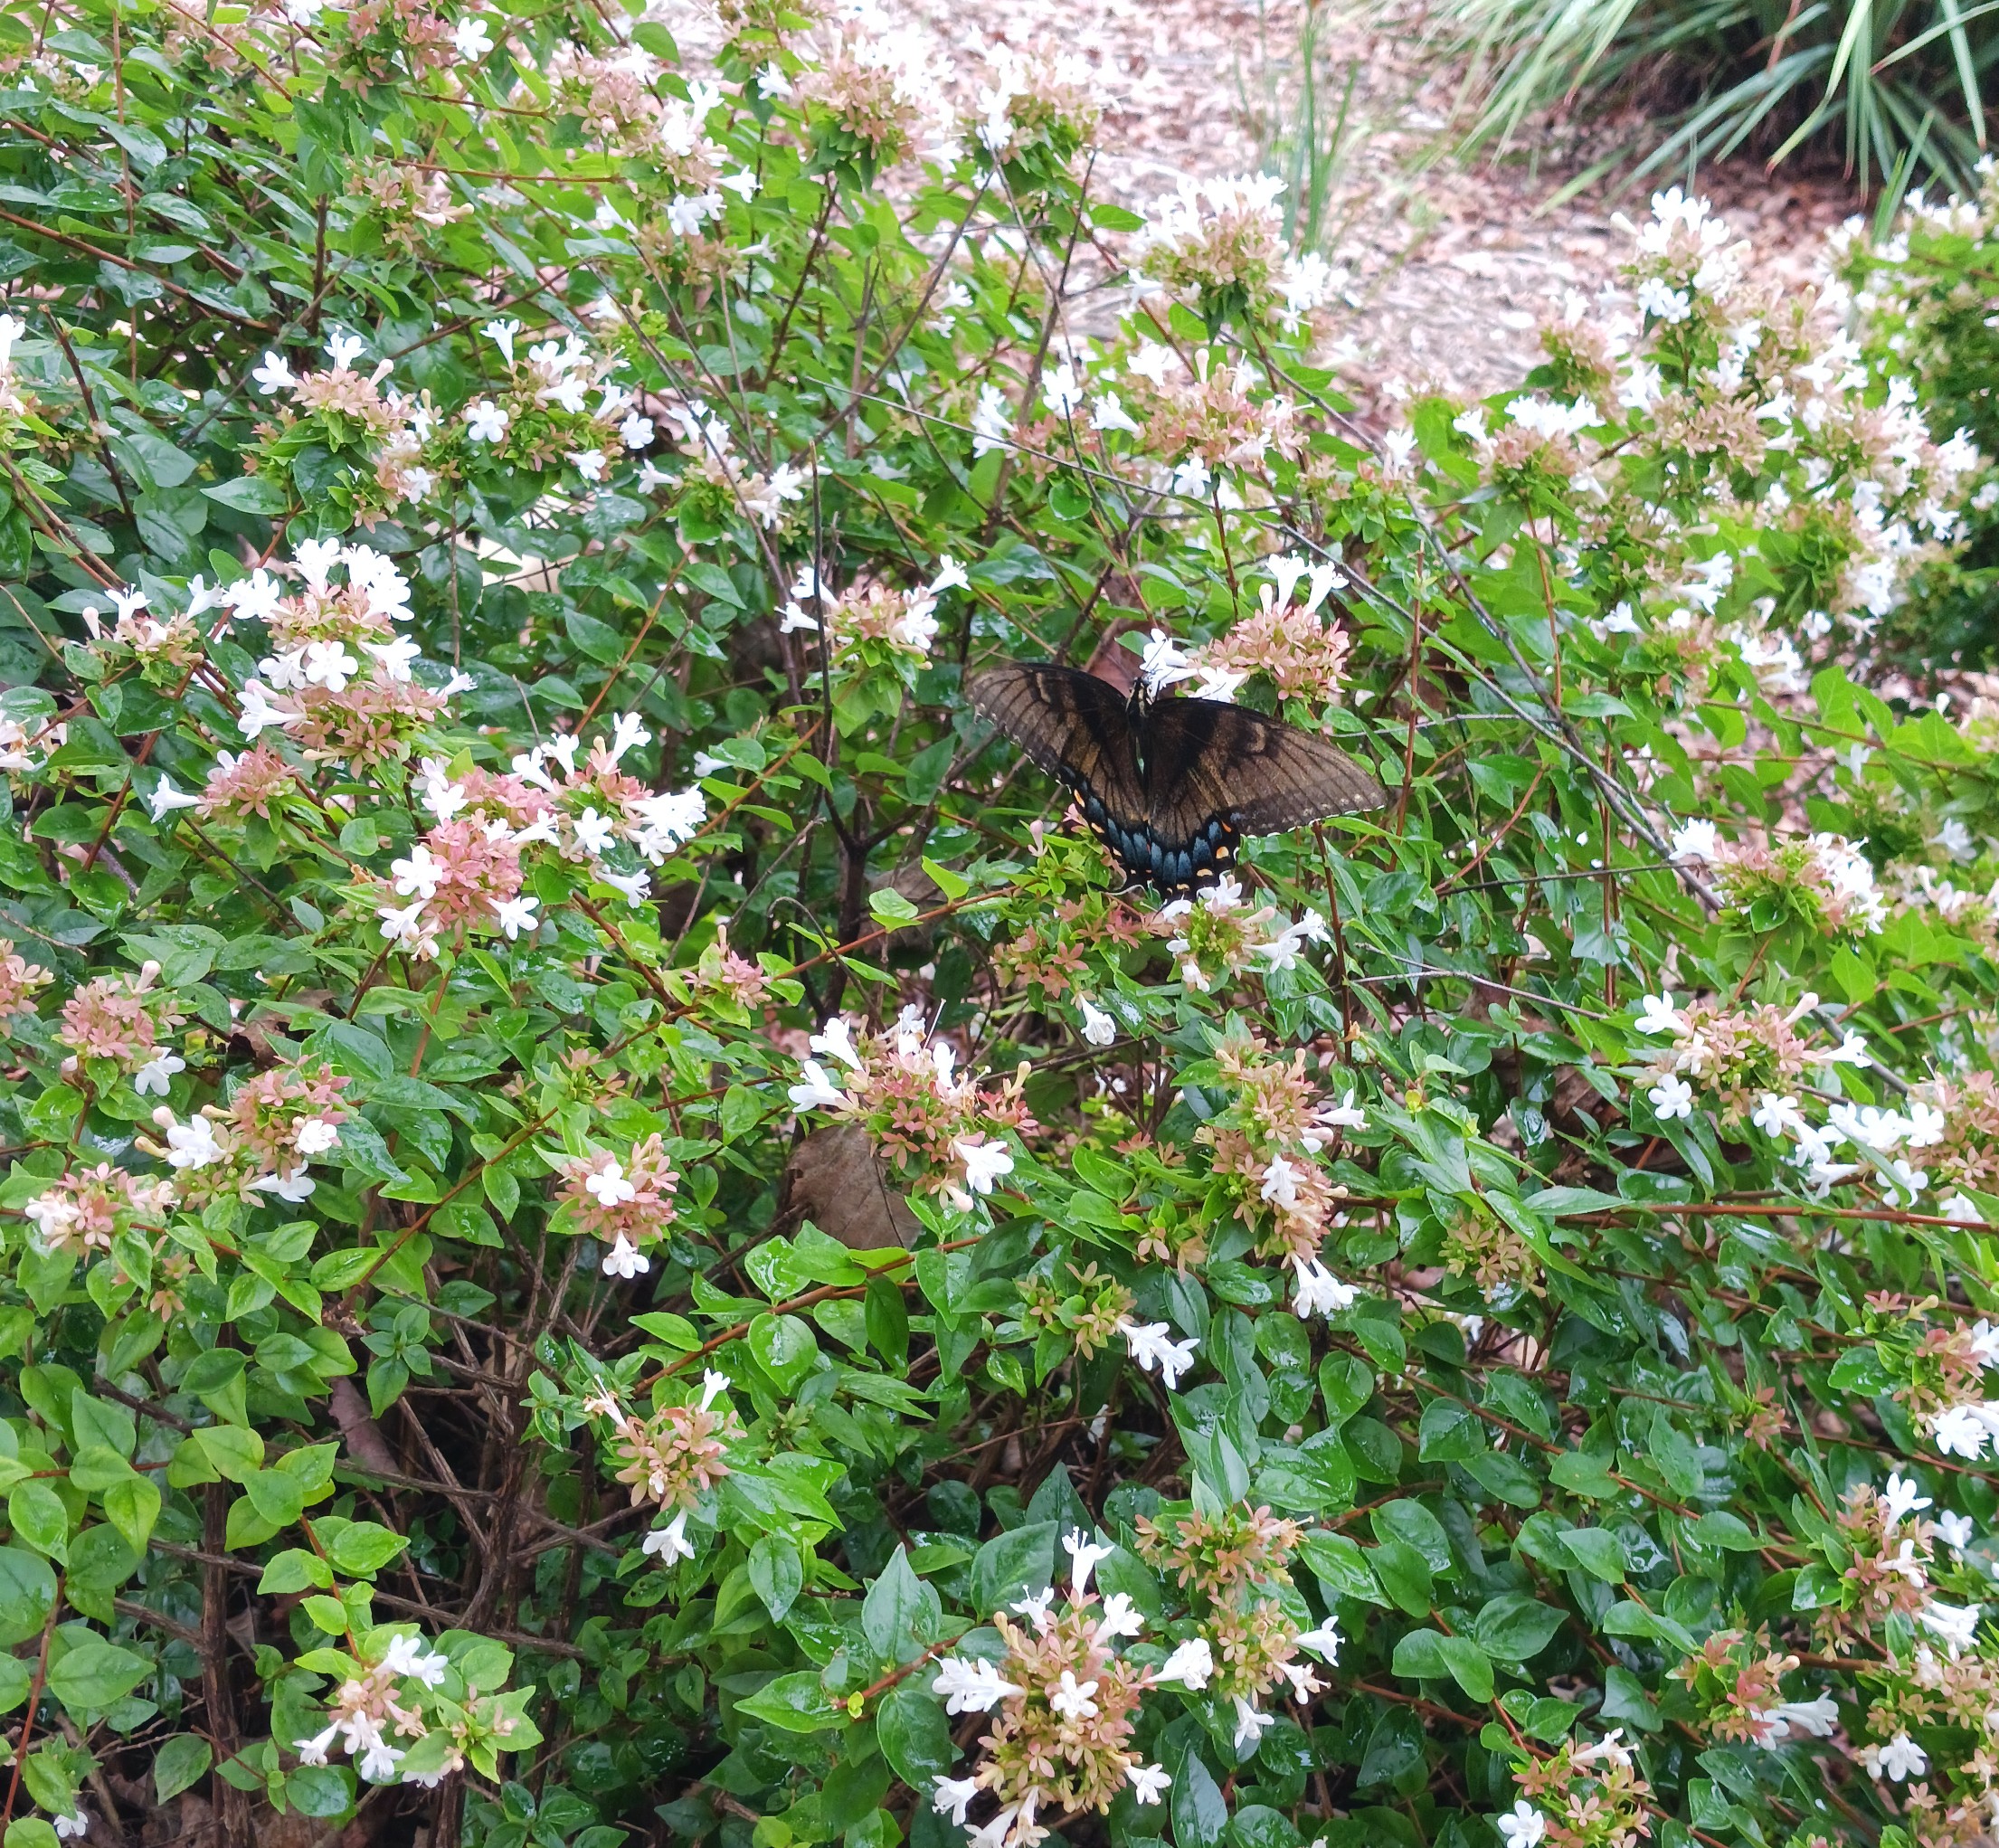
Papilio glaucus, eastern tiger swallowtail


Prickly pear flowers :D
 Strange abandoned basketball court just off the path


Polistes carolina
 No id, but I saw this guy catch a bug right out of the air in front of me and then eat it on that branch.


Green anole chilling in a tree. It let me take pictures for like 5 minutes straight


Female Plathemis lydia, common whitetail
 Male Plathemis lydia.
why do they call it whitetail when the tail is blue or brown.
I thought I saw two of these mating but after learning about their sexual dimorphism I guess they were fighting.
or gay.
Male Plathemis lydia.
why do they call it whitetail when the tail is blue or brown.
I thought I saw two of these mating but after learning about their sexual dimorphism I guess they were fighting.
or gay.


No id.
 Mangora placida eating a buge
 Junonia coenia, common buckeye
 No id :(
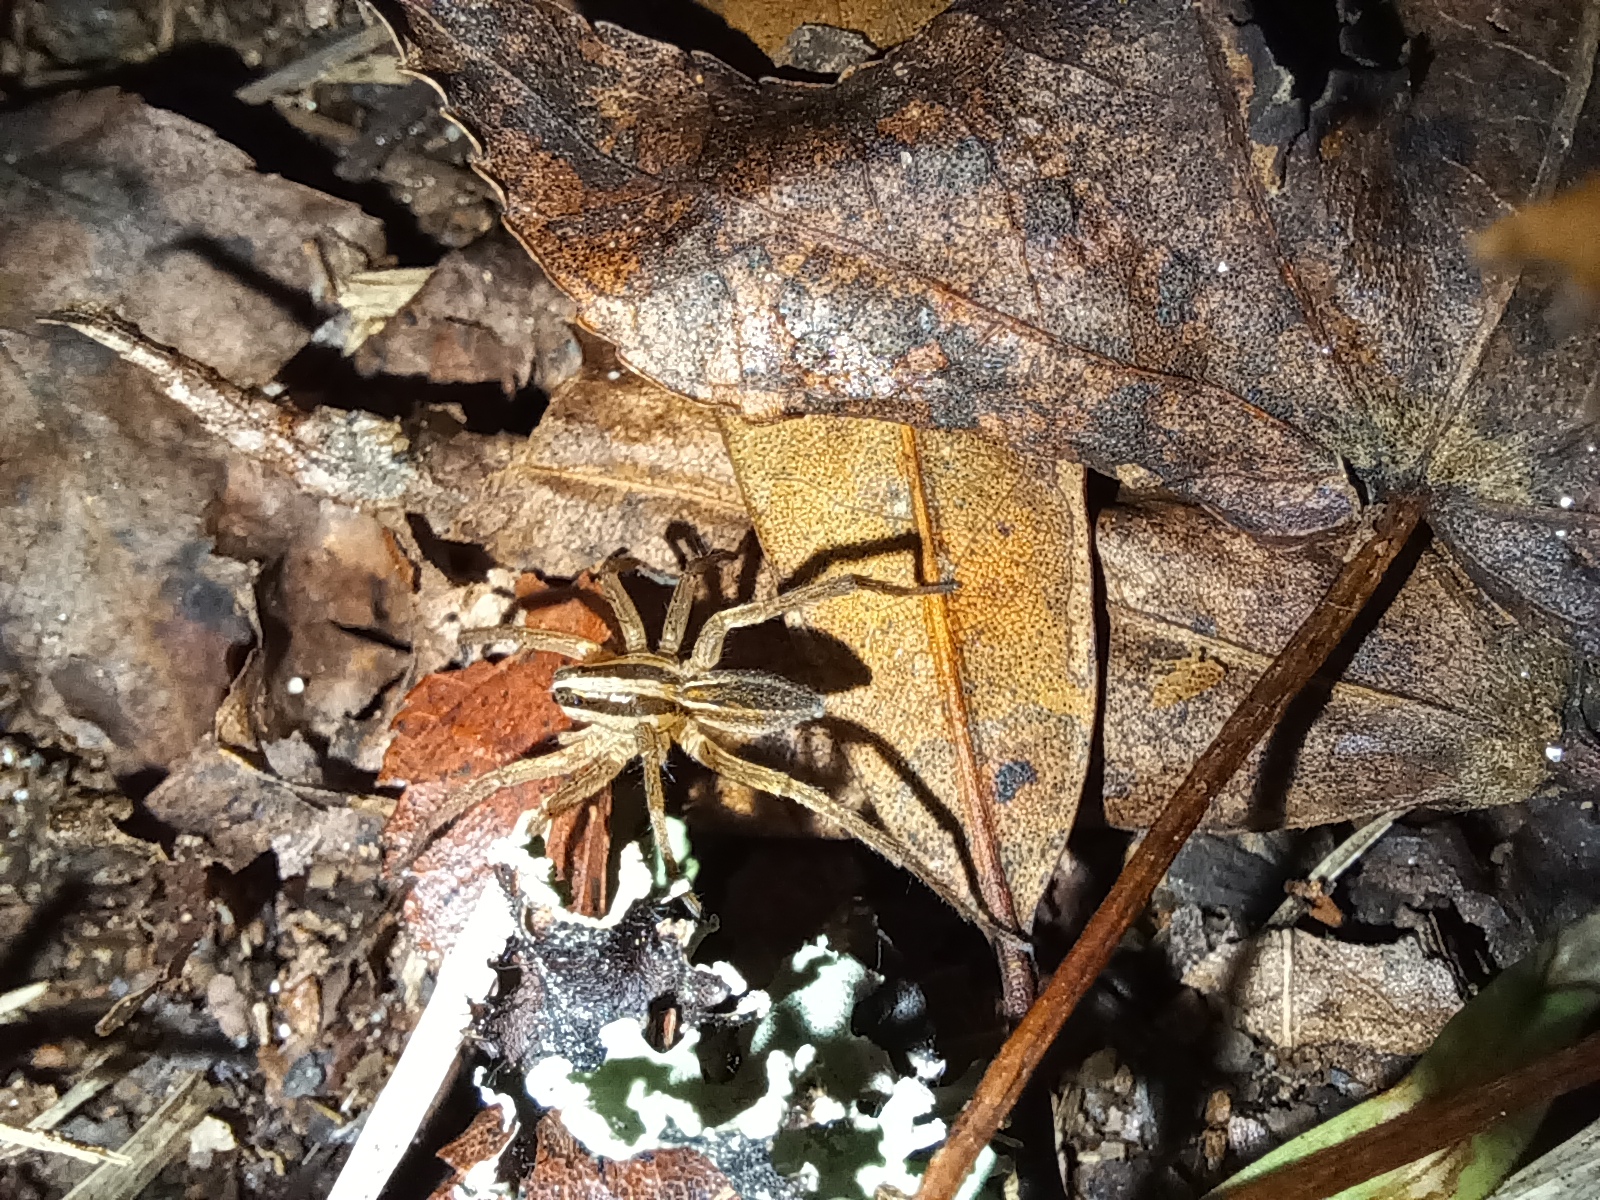
 Lycosidae, carrying egg sac.


Beautiful flower field and a sulphur (clouded?)
 Thistle about to bloom


Male Lyssomanes viridis. I started taking pictures of this guy and didn't realize I had accidentally switched my camera to infrared mode, but the photos go kind of hard I think. I might start doing this on purpose more often, It seems like in IR mode theres more light available and I can maybe close down the aperture a little more for more depth of field. That being said identification is basically impossible in black and white (plus I almost missed the enormous front facing pair of eyes that should have given away the family immediately)
 Orthoptera
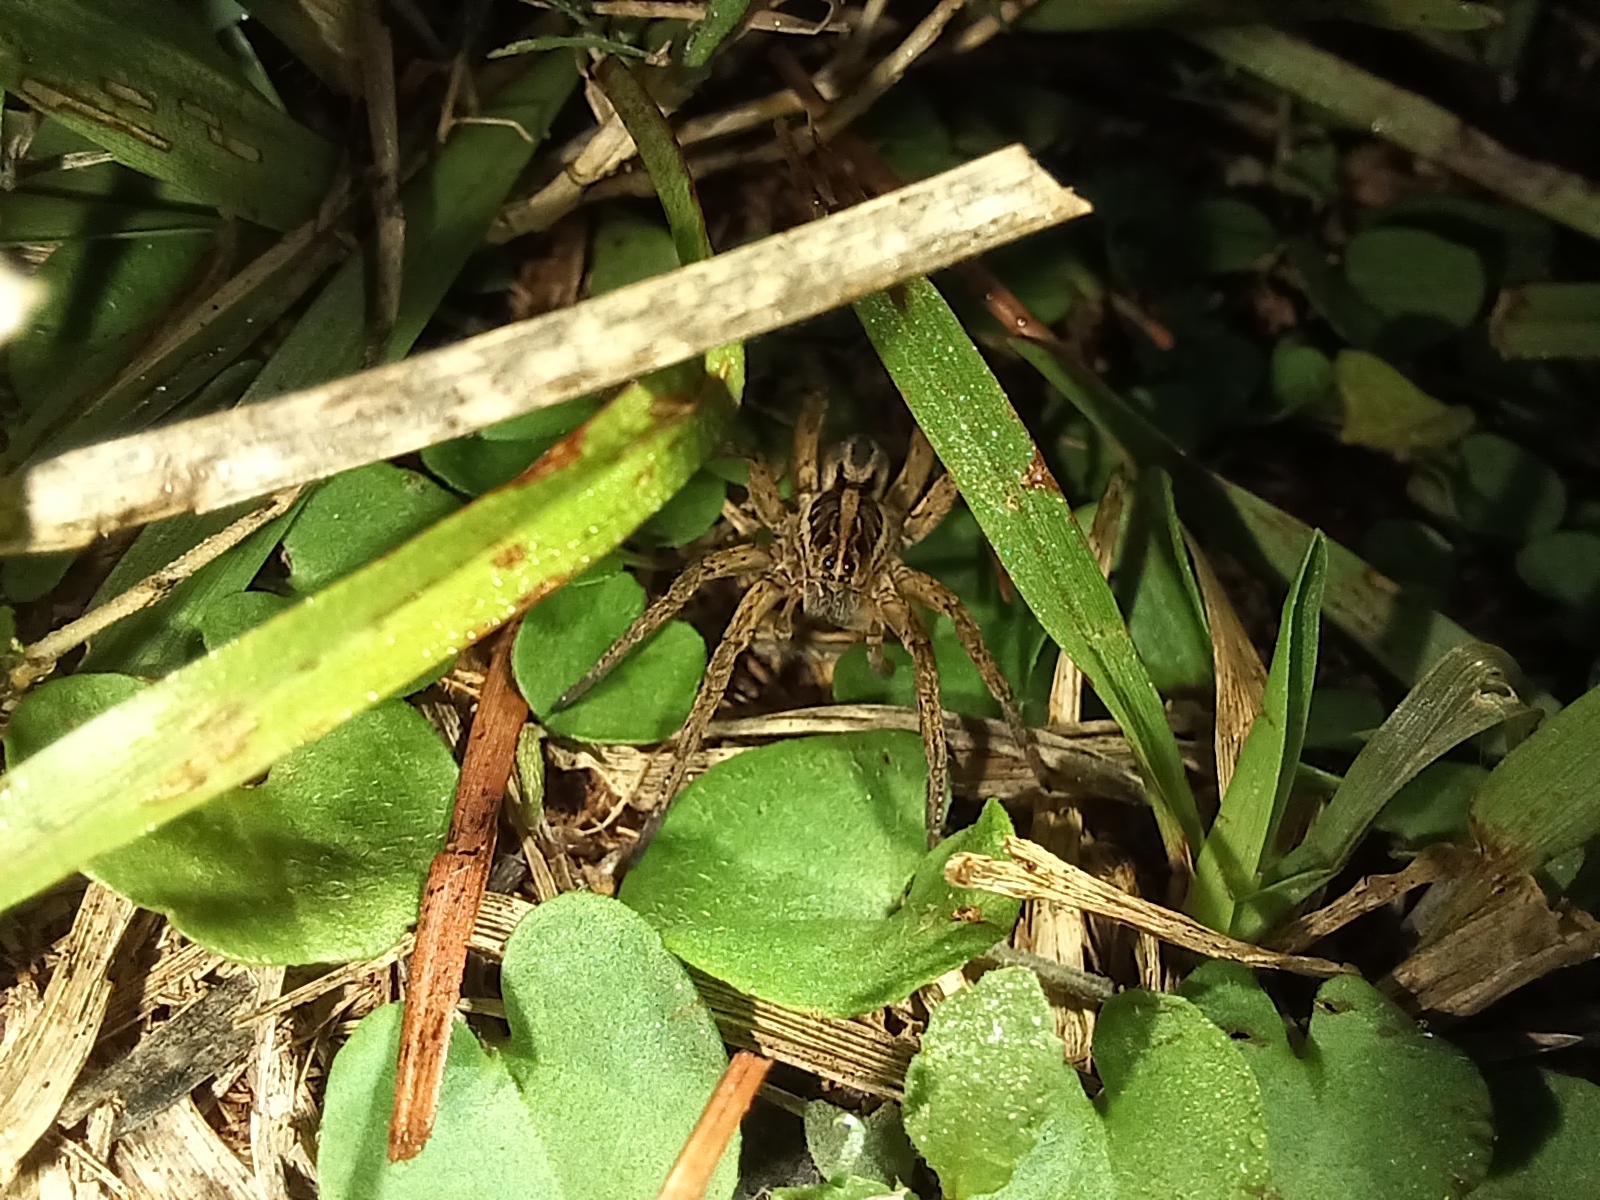
no id.


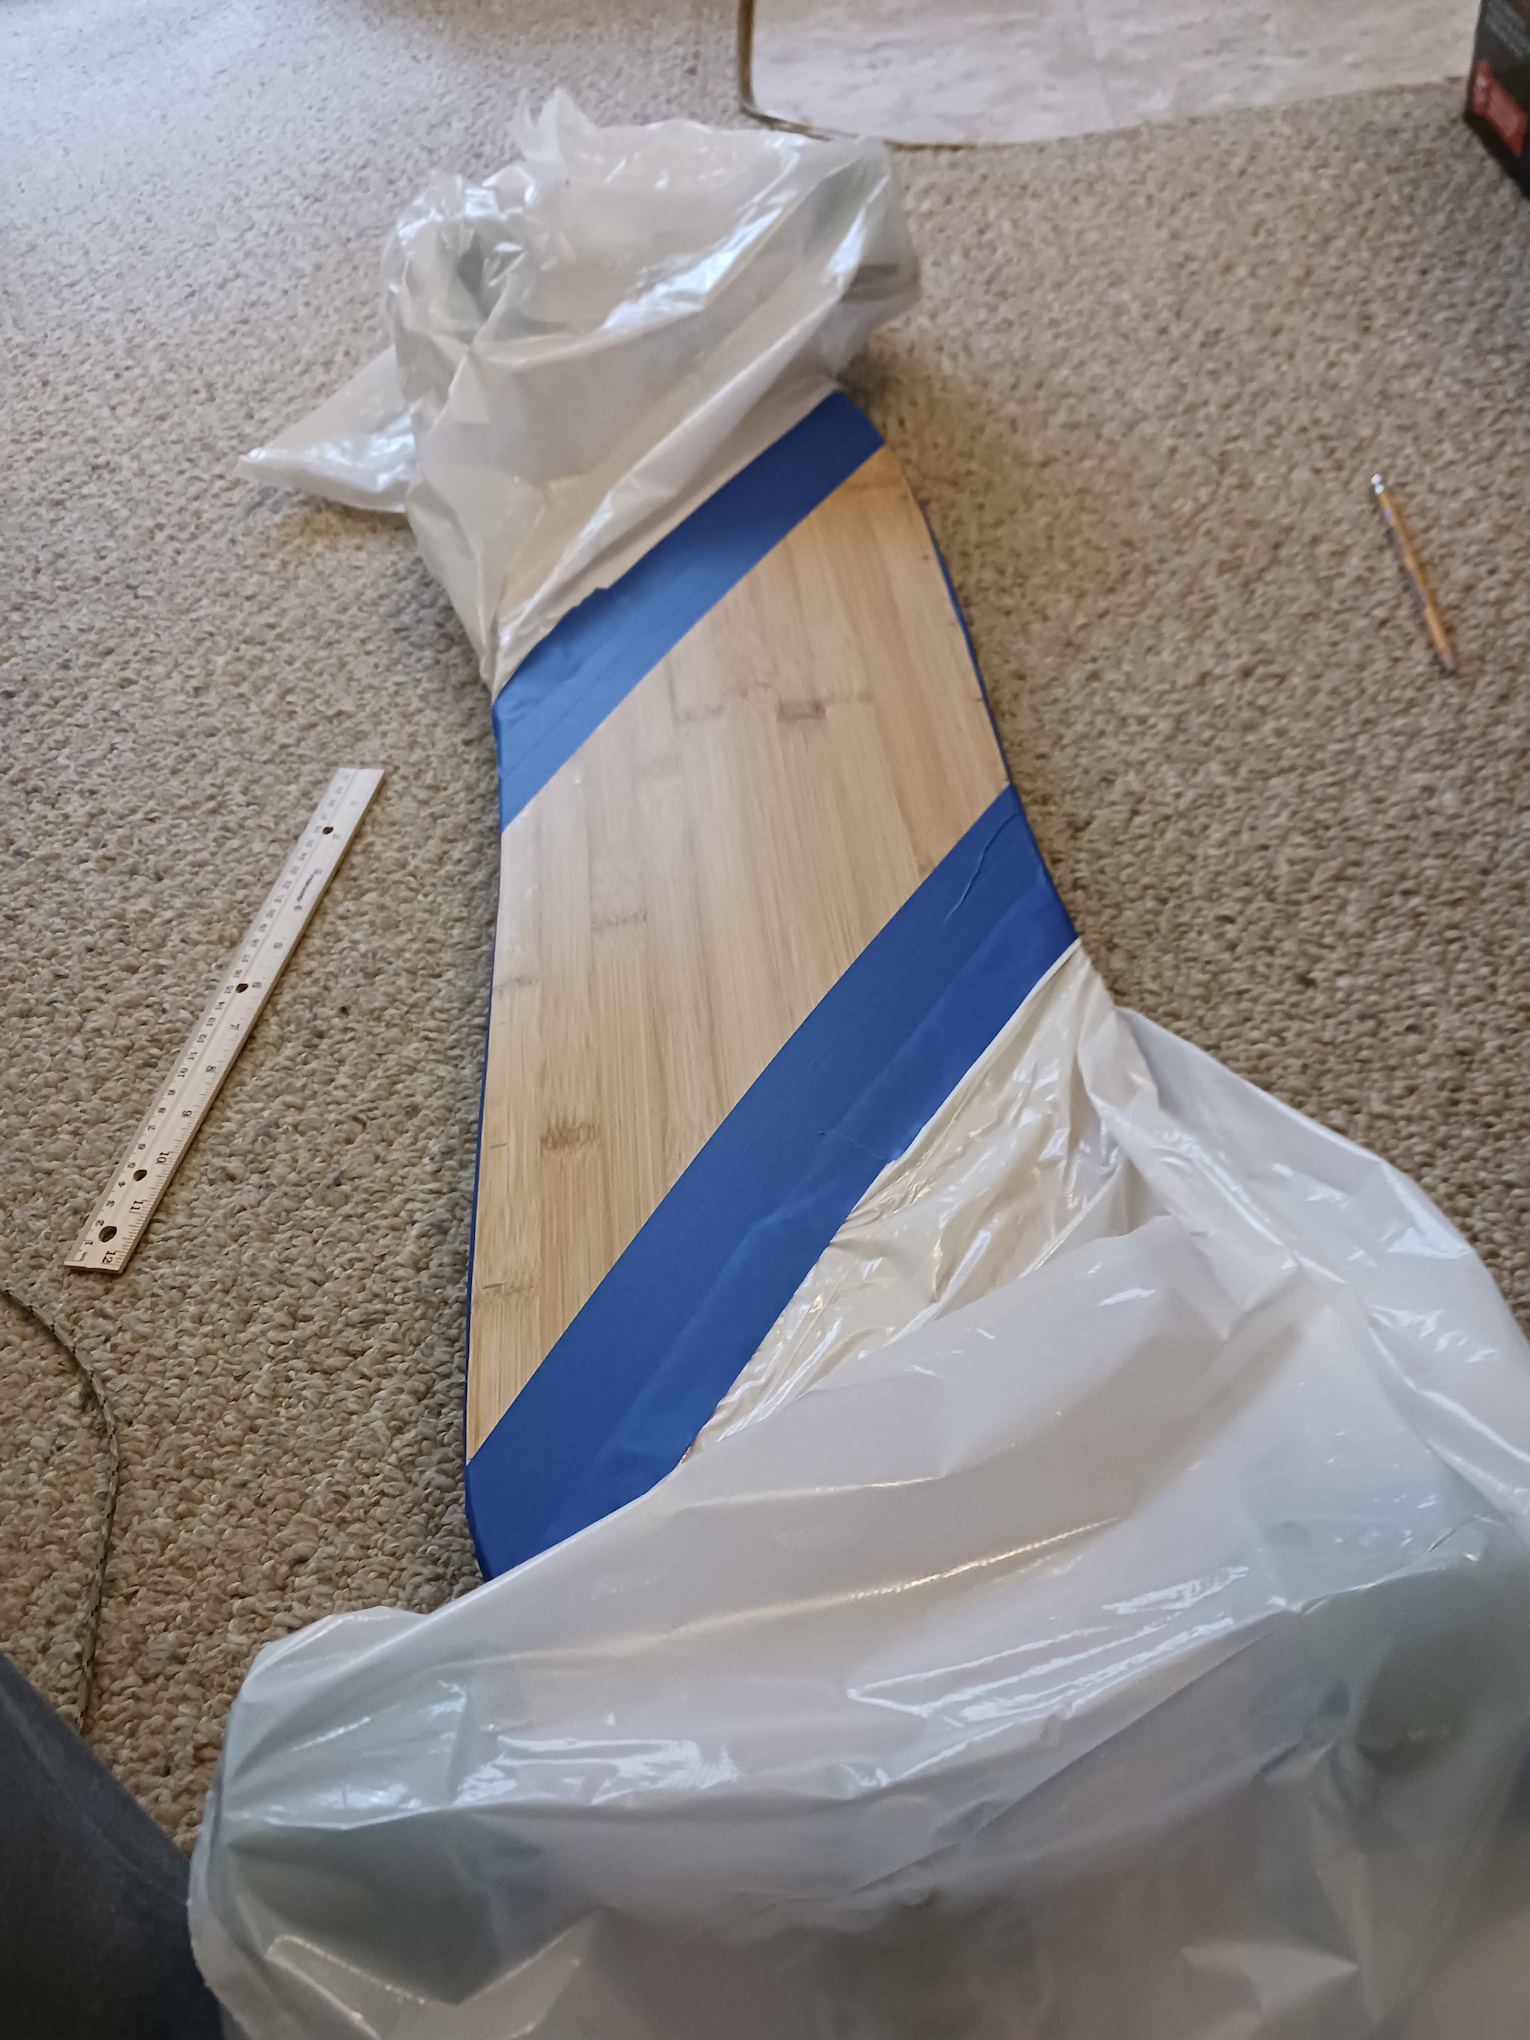
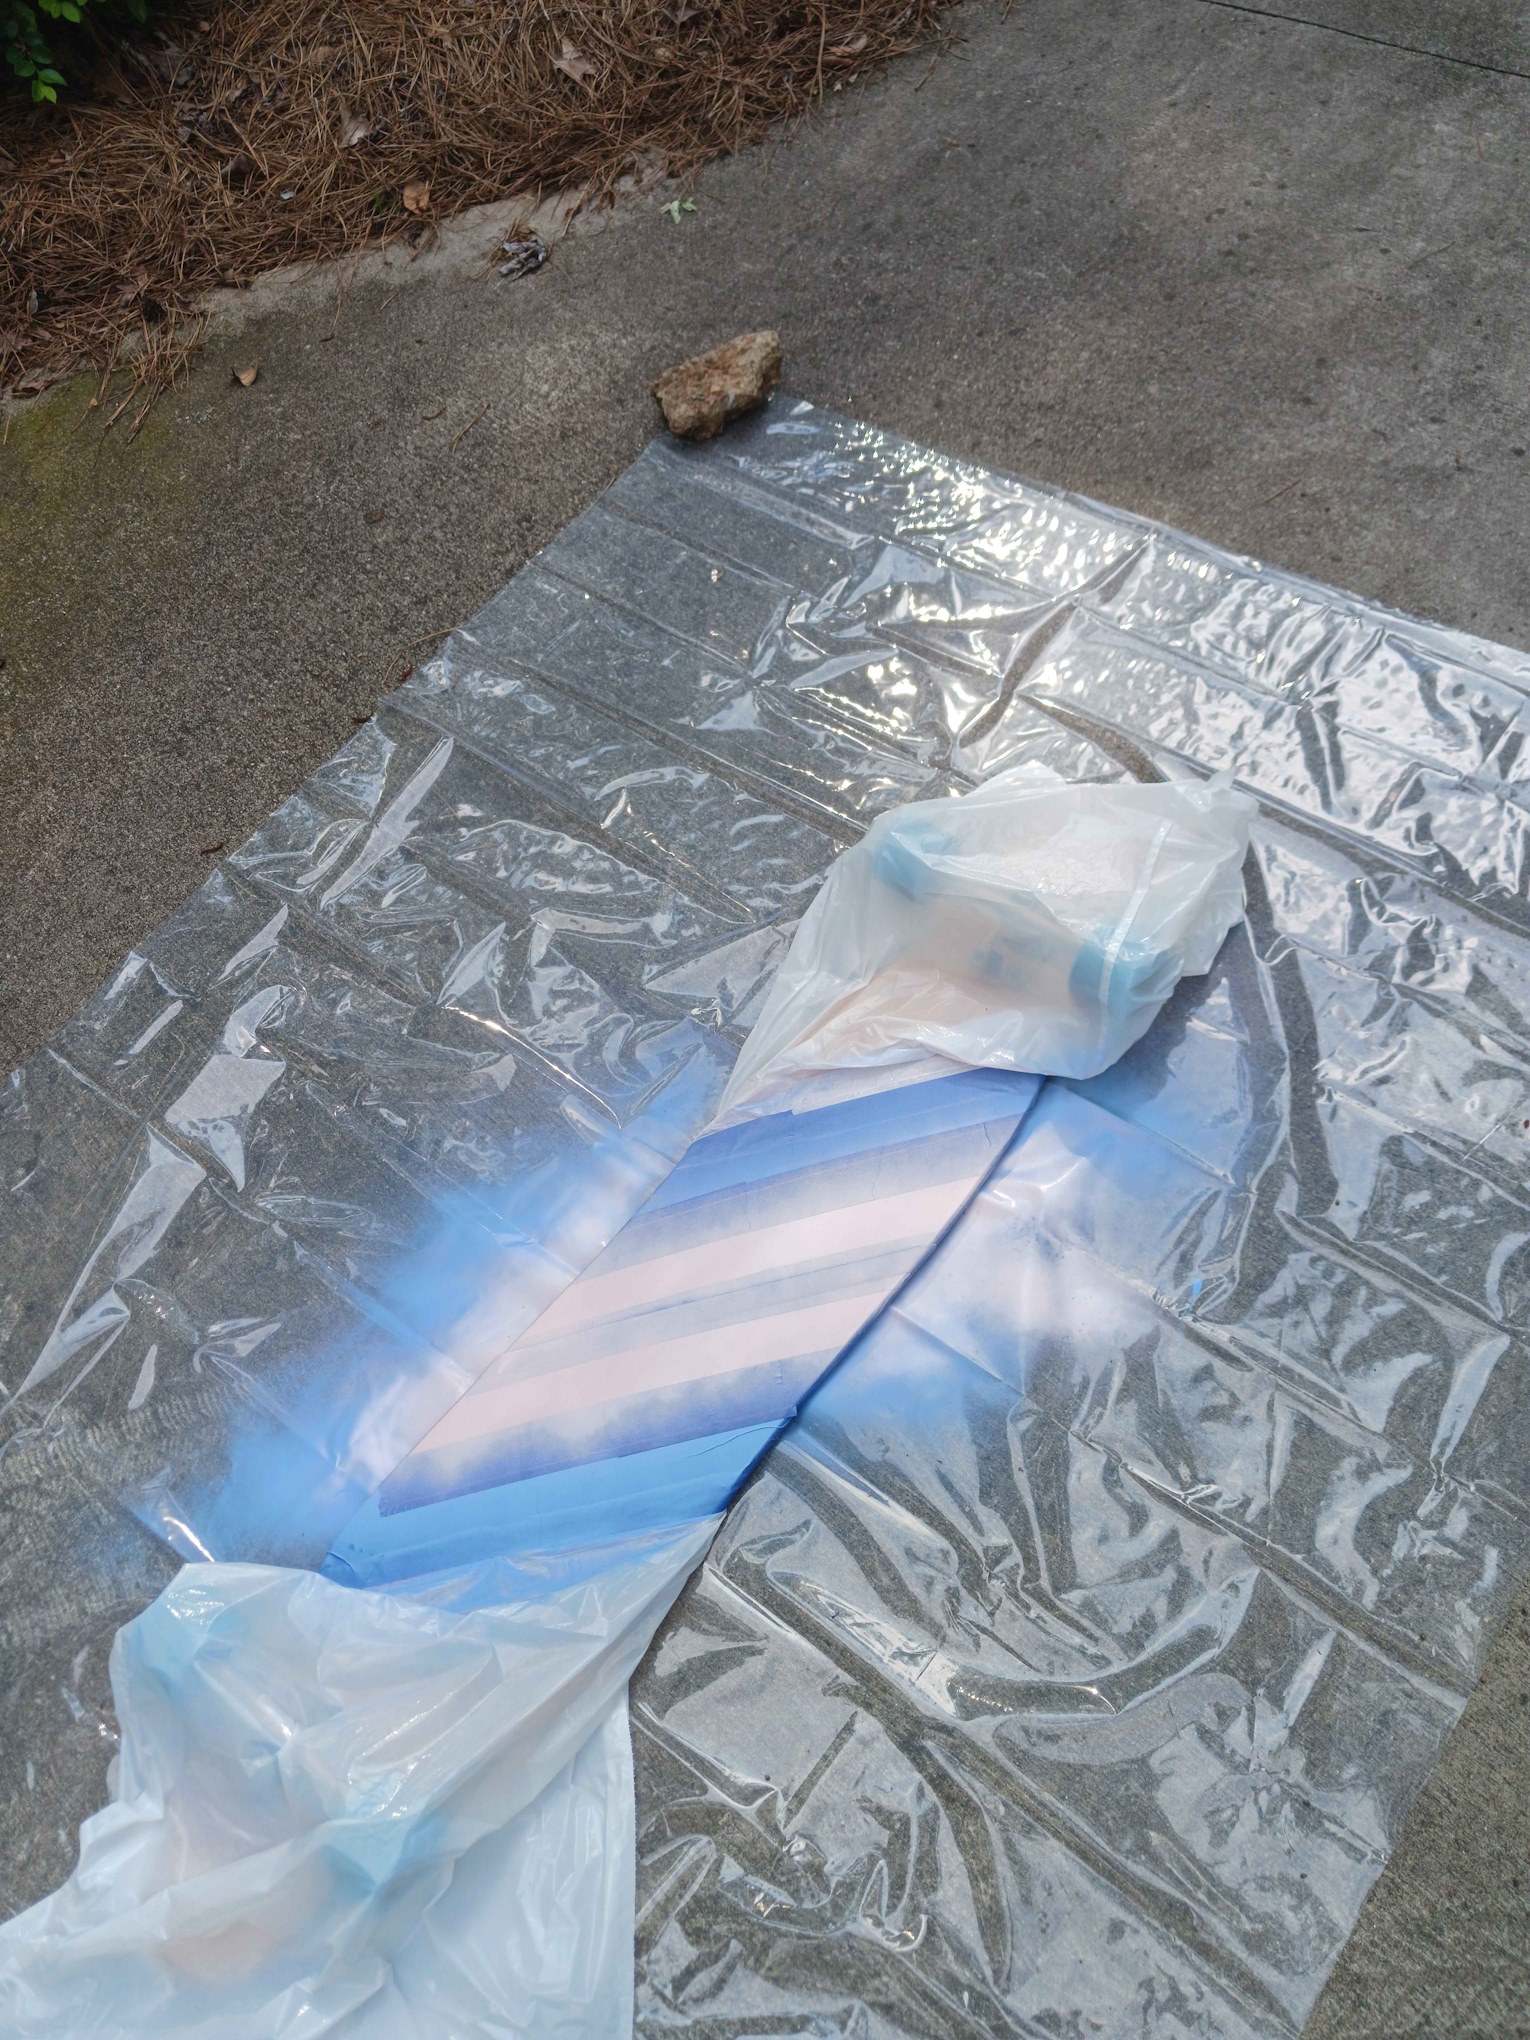
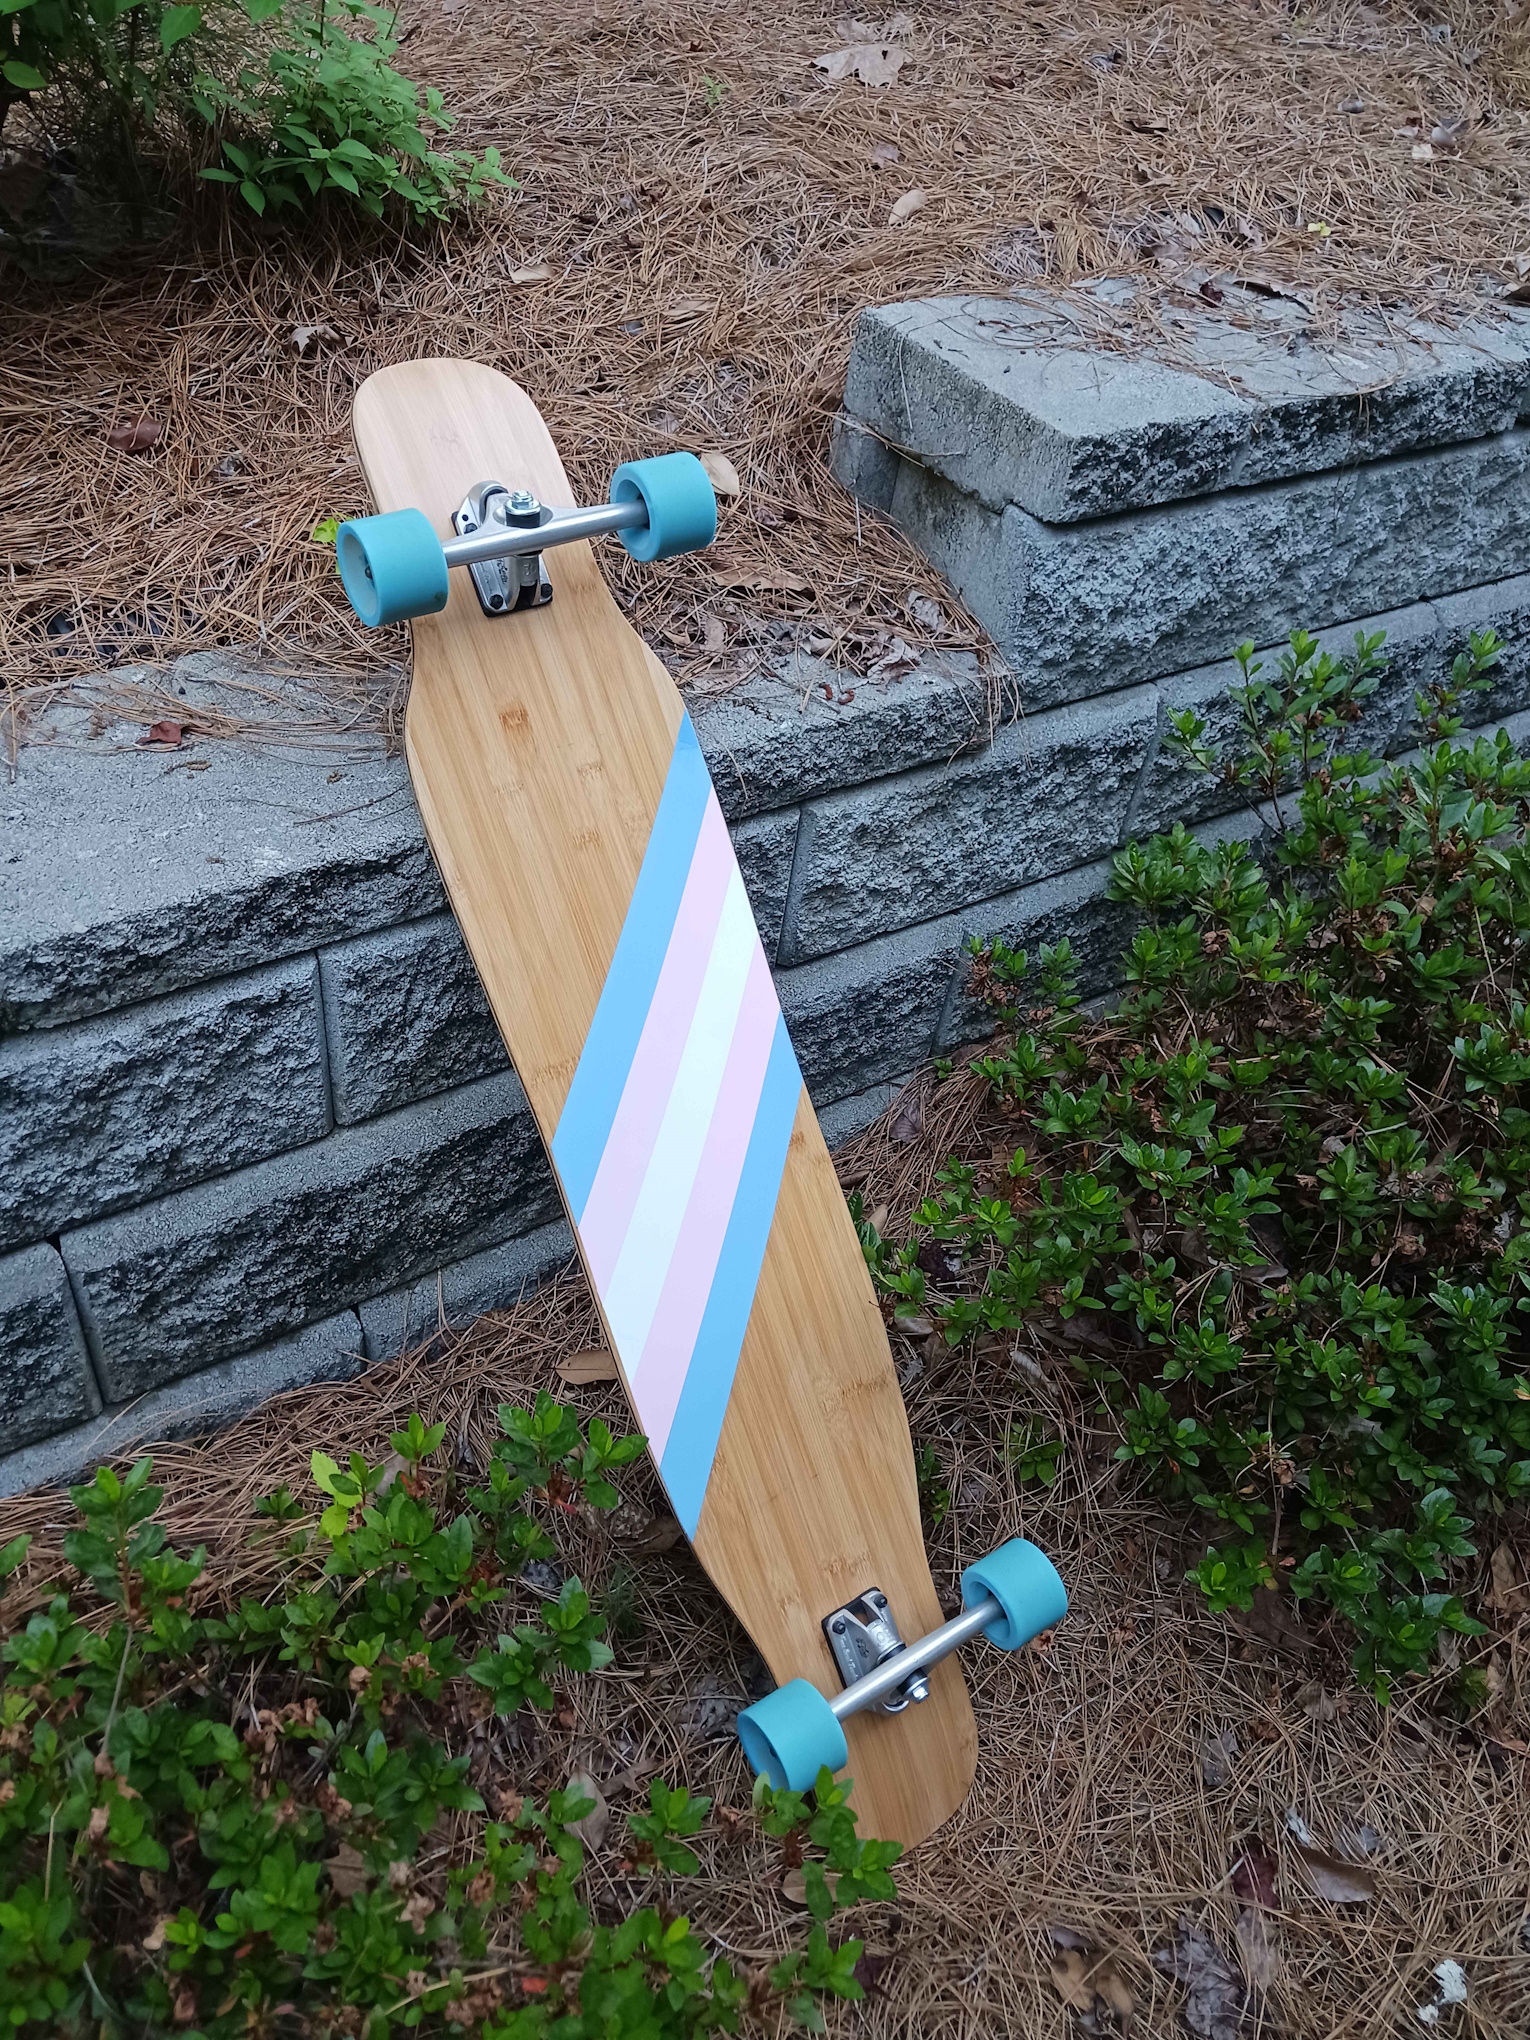
 the finished product!


 so I unstitched and resewed it at an angle for extra room.


.jpg)
.jpg)
.jpg)
.jpg)
.jpg)
.jpg)
.jpg)
.jpg)
.jpg)
.jpg)
.jpg)
.jpg)
.jpg)
.jpg)
.jpg)
.jpg)
.jpg)
.jpg)
.jpg)
.jpg)
.jpg)
.jpg)
.jpg)
.jpg)
.jpg)
.jpg)
.jpg)
.jpg)
.jpg)
.jpg)
.jpg)
.jpg)